Nuxt.jsのプロジェクトを立ち上げる手順についてご紹介していきます。
読者の想定と前提
- パッケージマネージャが入っている
- Nuxtを始めてみたい
プロジェクトを作成する
今回は、yarnを使います。
yarn create nuxt-app nuxtTemplateプロジェクトの名前
プロジェクトの名前を聞かれますが、そのままエンターで大丈夫です。
? Project name: (nuxtTemplate) プログラミング言語の選択
JavaScriptかTypeScriptどちらを使用するか聞かれます。
好きな方を選択しましょう。
? Programming language: (Use arrow keys)
❯ JavaScript
  TypeScript
パッケージマネージャを選択
使用するパッケージマネージャを選択します。
? Package manager: (Use arrow keys)
❯ Yarn
  Npm
UIフレームワークを選択
必要なものを選択しましょう。
? UI framework: (Use arrow keys)
❯ None
  Ant Design Vue
  BalmUI
  Bootstrap Vue
  Buefy
  Chakra UI
  Element
  Oruga
  Primevue
  Tachyons
  Tailwind CSS
  Windi CSS
  Vant
  View UI
  Vuetify.js
モジュールの選択
基本的にAxiosを選択しておけば問題ないと思います。
必要なものをいれましょう。
? Nuxt.js modules: (Press <space> to select, <a> to toggle all, <i> to invert selection)
❯◯ Axios - Promise based HTTP client
 ◯ Progressive Web App (PWA)
 ◯ Content - Git-based headless CMS
Lintの選択
Lintツールを選択しましょう。
ESLintとPrettierを選択しておけば、とりあえず問題ないかと思います。
? Linting tools: (Press <space> to select, <a> to toggle all, <i> to invert selection)
❯◯ ESLint
 ◯ Prettier
 ◯ Lint staged files
 ◯ StyleLint
 ◯ Commitlint
テストツールの選択
コードを書いた後のテストツールを選択します。
? Testing framework: (Use arrow keys)
❯ None
  Jest
  AVA
  WebdriverIO
  Nightwatch
レンダリング方法を選択
Webサイトを作る目的であれば、Universal(SSR / SSG)で良いと思います。
アプリケーションやSEO等について気にしなければ、Single Page App(SPA)でも問題ないはずです。
? Rendering mode: (Use arrow keys)
❯ Universal (SSR / SSG)
  Single Page App
デプロイ先を選択
? Deployment target: (Use arrow keys)
❯ Server (Node.js hosting)
  Static (Static/Jamstack hosting)
開発ツールの選択
? Development tools: (Press <space> to select, <a> to toggle all, <i> to invert selection)
❯◯ jsconfig.json (Recommended for VS Code if you're not using typescript)
 ◯ Semantic Pull Requests
 ◯ Dependabot (For auto-updating dependencies, GitHub only)
継続的インテグレーションの選択
? Continuous integration (Use arrow keys)
> None
   GitHub Actions (GitHub only)
   Travis CI
   Circle CI
Gitを使うかの選択
? Version control system (Use arrow keys)
> Git
   None
セットアップの完了と起動
以上でセットアップは終了になります。
起動をしていきます。
まずは、以下のようにしてフォルダを移動しましょう。
cd nuxtTemplate
移動したら以下のコマンドを叩きましょう。
yarn dev
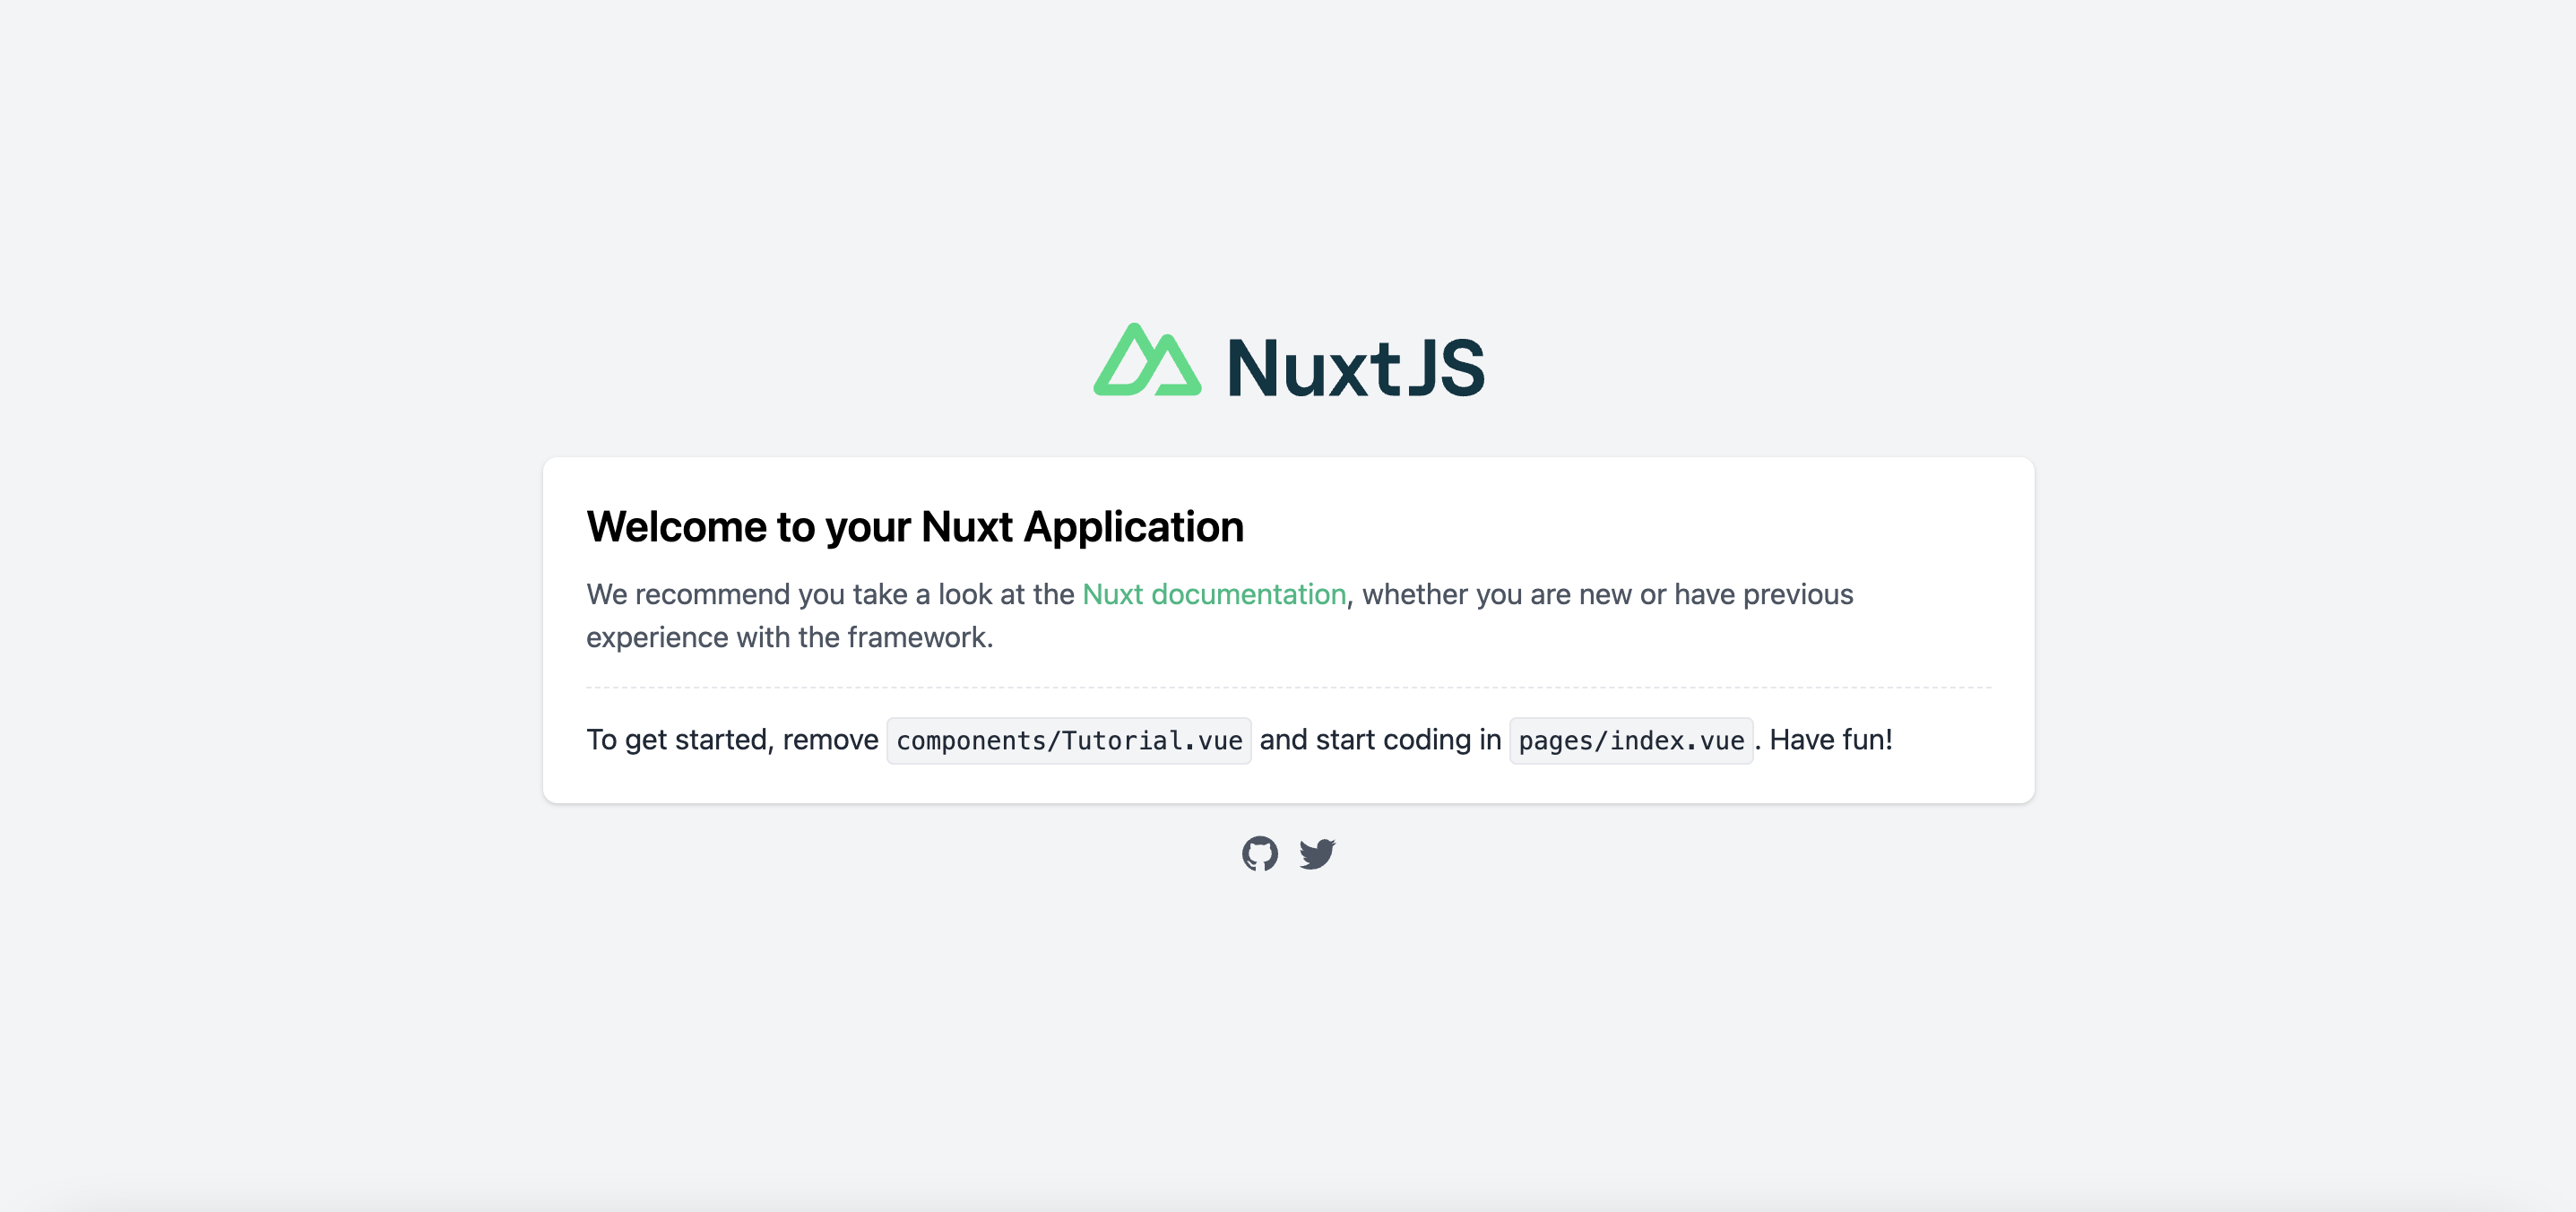
ローカルURLが出るのでそれをクリックしてサイトが表示されたら成功です。